What Does DNS Server Not Responding Error Mean?
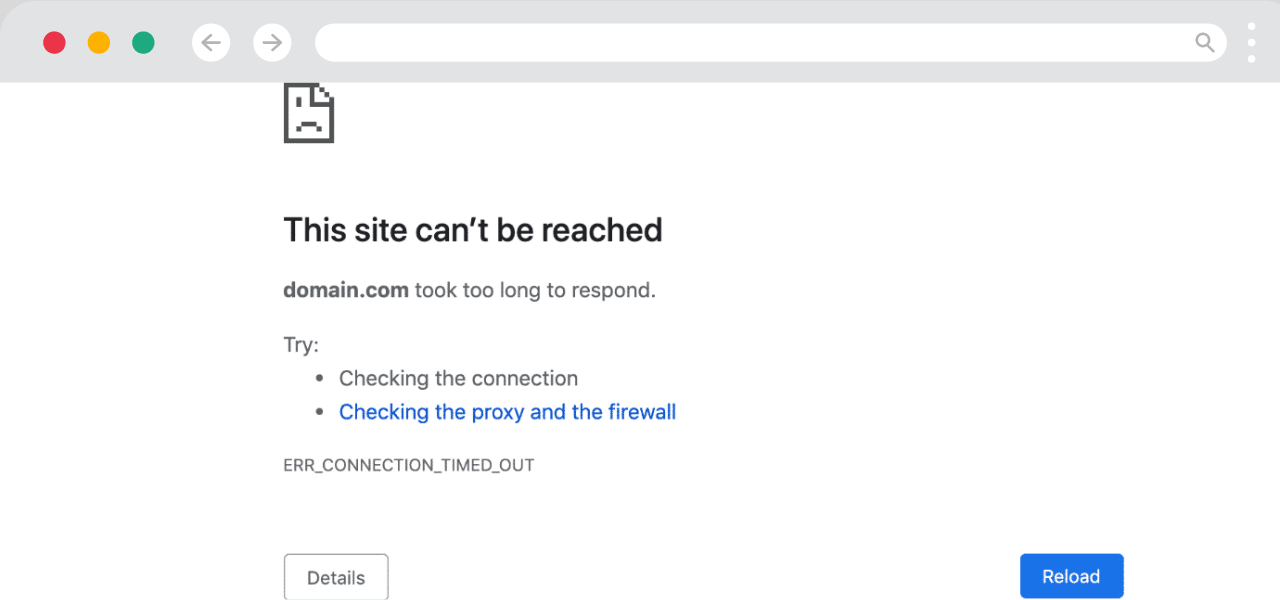
Experiencing the “DNS server not responding Error” message is a networking problem that can hinder your ability to visit websites and utilize online services effectively.
DNS servers serve as the internet’s directory system by converting domain names such as google.com into their IP addresses. If devices are unable to connect to the DNS server, they face difficulties in resolving domain names and encounter connectivity problems.
The DNS server not responding error can have reasons.
- Network connection problems: Your computer is unable to reach the DNS server due to issues like a dropped internet connection.
- Misconfigured DNS server settings: Your devices are pointing to the wrong IP address for the DNS server.
- DNS server downtime: The DNS server itself is down or unreachable.
- Software conflicts: Other software like VPNs, antivirus, or firewalls are blocking access to the DNS server.
- Driver problems: Outdated network drivers can cause connectivity problems with the DNS server.
How to Fix DNS Server Not Responding Error on Windows
Here are the things you should try on Windows machines to fix the DNS server not responding issue:
- Check Your Internet Connection
- Restart Your Computer and Router
- Run Windows Network Troubleshooter
- Clear DNS Cache
- Change DNS Server Addresses
- Disable and Re-enable Network Adapter
- Reset TCP/IP Stack
- Disable Antivirus or Firewall Temporarily
- Update Network Adapter Drivers
- Check DNS Settings in Your Router
Step 1: Check Your Internet Connection
Before diving into more technical fixes, make sure your internet connection is stable.
- Check your Wi-Fi or Ethernet connection to ensure you’re connected to the network.
- Try loading a website to see if the issue persists.
Step 2: Restart Your Computer and Router
Sometimes, a simple restart of your devices can resolve temporary connection issues.
- Restart your computer.
- Restart your router by turning it off for about 30 seconds and then turning it back on. Wait for the router to fully restart.
Step 3: Run Windows Network Troubleshooter
Windows has a built-in network troubleshooter that can automatically detect and fix common network issues.
- Right-click on the Start menu and select Settings.
- Go to System
- Then search Troubleshoot Other problems on search bar.
- Under Network Adapter, click Run the troubleshooter.
- Follow the on-screen instructions to let Windows detect and resolve issues with your network connection.
Step 4: Clear DNS Cache
Sometimes, corrupted or outdated DNS cache entries can cause issues. Clearing the DNS cache may help.
- Press Windows + R to open the Run dialog box.
- Type cmd and press Ctrl + Shift + Enter to open the Command Prompt as Administrator.
- In the Command Prompt window, type the following command and press Enter:
ipconfig /flushdns
- After it completes, close the Command Prompt.
Step 5: Change DNS Server Addresses
The problem may lie with your current DNS server. Switching to a different DNS server, such as Google’s or OpenDNS, can often resolve the issue.
For Google DNS:
- Preferred DNS server: 8.8.8.8
- Alternate DNS server: 8.8.4.4
For OpenDNS:
- Preferred DNS server: 208.67.222.222
- Alternate DNS server: 208.67.220.220
To change your DNS settings:
- Right-click on the Start menu and select Network Connections.
- Under Status, click on Change adapter options.
- Right-click on your active network connection (Wi-Fi or Ethernet) and select Properties.
- In the list of items, select Internet Protocol Version 4 (TCP/IPv4) and click Properties.
- Select Use the following DNS server addresses.
- Enter the DNS addresses mentioned above (Google or OpenDNS).
- Click OK, then close the window.
Step 6: Disable and Re-enable Network Adapter
If there’s an issue with your network adapter, disabling and re-enabling it might fix the issue.
- Right-click the Start button and select Device Manager.
- Expand the Network adapters section.
- Right-click on your network adapter and select Disable device.
- Wait a few seconds, then right-click on the same adapter and select Enable device.
Step 7: Reset TCP/IP Stack
Resetting the TCP/IP stack can help fix network issues, including DNS-related problems.
- Press Windows + R to open the Run dialog box.
- Type cmd and press Ctrl + Shift + Enter to open the Command Prompt as Administrator.
- Type the following command and press Enter:
netsh int ip reset
- Restart your computer.
Step 8: Disable Antivirus or Firewall Temporarily
Sometimes, your antivirus or firewall software might block DNS requests. To check this:
- Temporarily disable your antivirus software and firewall.
- Try accessing a website. If the issue is resolved, you may need to adjust your antivirus or firewall settings to allow DNS traffic.
- Don’t forget to re-enable your antivirus or firewall after testing.
Step 9: Update Network Adapter Drivers
Outdated or corrupted network drivers can cause connection issues. To update them:
- Open Device Manager (right-click the Start button and select Device Manager).
- Expand the Network adapters section.
- Right-click your network adapter and select Update driver.
- Choose Search automatically for updated driver software.
- Follow the prompts to install any available updates.
Step 10: Check DNS Settings in Your Router
If the problem persists across multiple devices, there may be an issue with your router’s DNS settings.
- Log in to your router’s web interface. (Typically, this is done by entering your router’s IP address into a browser. Common IPs are 192.168.1.1 or 192.168.0.1).
- Check the DNS settings in the router. Ensure they are set to either obtain DNS automatically or use a reliable DNS provider (e.g., Google DNS or OpenDNS).
- Save your settings and restart the router.
How to Fix DNS Server Not Responding Error on Mac
If you’re encountering the “DNS Server Not Responding” issue, on your Mac computer it usually indicates that your device is having trouble connecting to the DNS server that helps translate domain names (such as www.example.com) to IP addresses needed for web access. This could impede your ability to visit websites or access network services.
Here’s a detailed guide, on how to troubleshoot and resolve this problem effectively.
- Check Your Internet Connection
- Restart Your Mac and Router
- Flush DNS Cache on Your Mac
- Change DNS Server Settings
- Renew DHCP Lease
- Check Your Firewall and Security Software
- Check for macOS Software Updates
- Test Using Another Device
- Contact Your ISP
- Reset Network Settings (Last Resort)
Step 1: Check Your Internet Connection
Before diving into DNS-specific fixes, ensure that your Mac is connected to the internet.
- Check Wi-Fi Connection: Verify that your Wi-Fi is connected. If you’re using a wired connection, ensure that the Ethernet cable is plugged in properly.
- Try Accessing Other Websites: Open a few websites to see if the issue is with your DNS or your internet connection in general. If you can’t access any website, the problem might be with your internet connection itself.
Step 2: Restart Your Mac and Router
Sometimes a simple restart can resolve network-related issues.
- Restart Your Mac: Click the Apple logo in the top-left corner and select “Restart.”
- Restart Your Router/Modem: Unplug your router and modem for 30 seconds, then plug them back in. Wait for the lights to stabilize and then check if your internet is working again.
Step 3: Flush DNS Cache on Your Mac
Your Mac may be holding onto outdated DNS information. Flushing the DNS cache can resolve this.
- Open Terminal (Applications > Utilities > Terminal).
- Type the following command and press Enter:
sudo killall -HUP mDNSResponder
- Enter your administrator password when prompted (note that you won’t see the characters appear as you type).
- After running the command, check if the error persists.
Step 4: Change DNS Server Settings
If the DNS server you’re using is slow or unresponsive, changing to a public DNS service can often resolve the issue.
- Open System Preferences:
- Click the Apple logo in the top-left corner and select System Preferences.
- Click Network.
- Select Your Network: In the left sidebar, select the network connection you are using (e.g., Wi-Fi or Ethernet).
- Click Advanced: In the bottom-right corner, click the Advanced button.
- Go to the DNS Tab: In the Advanced settings window, click the DNS tab.
- Add a New DNS Server:
- Click the + button under the DNS Servers box.
- Enter one of the following public DNS server addresses:
- Google DNS:
- 8.8.8.8
- 8.8.4.4
- Cloudflare DNS:
- 1.1.1.1
- 1.0.0.1
- OpenDNS:
- 208.67.222.222
- 208.67.220.220
- Click OK and Apply: After adding the DNS servers, click OK and then Apply to save the changes.
Step 5: Renew DHCP Lease
If the DNS issue is related to your IP address, renewing your DHCP lease might help.
- Open System Preferences.
- Click Network and select your active network connection.
- Click Advanced, then go to the TCP/IP tab.
- Click Renew DHCP Lease.
Step 6: Check Your Firewall and Security Software
Sometimes, firewall settings or security software can block DNS traffic, leading to errors.
- Disable Your Firewall: Temporarily disable any firewall or security software you have running on your Mac to check if it’s causing the issue. You can do this by going to System Preferences > Security & Privacy > Firewall and turning it off.
- Check Your Router’s Firewall Settings: If you’re using a router with built-in firewall, ensure that it’s not blocking DNS traffic (port 53). Consult your router’s manual or access the router’s settings via the browser (usually by typing 192.168.1.1 or 192.168.0.1 in the address bar).
Step 7: Check for macOS Software Updates
Sometimes, a macOS update can fix network-related bugs.
- Check for Updates: Go to System Preferences > Software Update and make sure you’re running the latest version of macOS.
- If there’s an update available, click Update Now to install it.
Step 8: Test Using Another Device
Check if other devices (such as another Mac, a smartphone, or a tablet) connected to the same network are experiencing the same DNS issue. If other devices are also failing to load websites, the issue may be with your router or ISP.
Step 9: Contact Your ISP
If the problem persists after all the above steps, the issue may lie with your Internet Service Provider (ISP). Contact their support team to check if there are any known issues with their DNS servers or network.
Step 10: Reset Network Settings (Last Resort)
If none of the previous steps work, you can reset your network settings, which will reset all network-related settings (Wi-Fi, Ethernet, VPN, etc.).
- Open System Preferences > Network.
- In the left sidebar, select Wi-Fi (or your current network).
- Click the minus (-) button to remove it.
- Add the network back by clicking the plus (+) button and choosing Wi-Fi or Ethernet.
This will reset your network preferences but should be used as a last resort.
Troubleshooting Network and Server Issues
The DNS server itself may be the root cause of connectivity problems.
Here’s how to check for and fix issues:
- Confirm DNS Server Status
- Check Server Configurations
- Update DNS Server Software
- Call Your ISP or Admin
Confirm DNS Server Status
Check the status of the DNS server and restart it:
- Log into the server and view services. Stop and restart the DNS/BIND service.
- Look for errors in nameserver logs indicating crashes, failures, or misconfigurations.
- Monitor performance metrics like memory usage, traffic, and queue lengths. Optimize or expand resources if overloaded.
- Test DNS queries, dig responses, and lookups from the server itself to isolate problems.
Check Server Configurations
Ensure the DNS server configuration is valid:
- Verify the listen-on IP addresses and ports are correct.
- Check the forwarders list and root hints are pointing to valid upstream DNS.
- Validate all name resolution settings like zone records, name server addresses, and caching TTLs.
- Examine ACLs and firewall rules to allow DNS traffic on required ports.
Restart the service for any config changes to take effect.
Update DNS Server Software
Keep your DNS server software updated:
- Upgrade BIND, PowerDNS, Unbound, etc., to the latest stable versions.
- Install updated definitions and root trust anchors for DNSSEC validation.
- Patch security vulnerabilities promptly and monitor alerts to avoid exploits.
- Modernize old DNS servers by migrating to current platforms and virtualization.
The latest versions have bug fixes, performance improvements, and better security.
Call Your ISP or Admin
If you don’t manage your DNS servers directly, contact your ISP or IT/network administrator:
- Report any persistent DNS errors you are facing. Provide traceroutes and dig output.
- Ask them to check the status and configurations of DNS servers.
- Request new DNS IPs if your current servers are frequently down.
- Suggest adding public DNS servers as fallback resolvers.
Your ISP can troubleshoot their managed DNS infrastructure and rectify issues.
Final Thoughts
Troubleshooting the DNS server not responding error requires methodically checking connections, settings, caches, services, and server configurations. Flushing the DNS cache, changing DNS IPs, restarting networking, using public resolvers, and editing the Hosts file are quick fixes.
For recurring issues, modify default and fallback DNS servers, automate flush on failure, and keep software updated. Contact your ISP or admin if you don’t manage DNS servers yourself. With these steps, you can eliminate frustrating DNS errors and restore reliable name resolutions.
Frequently Asked Questions (FAQ) Related to Fixing DNS Server Not Responding Errors
Why does flushing the DNS fix the issue temporarily?
Flushing the DNS cache forces your computer to discard old DNS data and fetch new name resolutions. This can temporarily fix the DNS server’s inability to respond to errors caused by invalid or incomplete cache data. The effect is temporary until the cache builds up again.
What are the best public DNS servers to use?
Google (8.8.8.8, 8.8.4.4) and Cloudflare (1.1.1.1, 1.0.0.1) public DNS resolvers are among the fastest and most reliable to use if your own DNS server fails. OpenDNS and Quad9 also provide good public servers.
Can I prevent this problem from happening again?
To prevent frequent DNS not responding errors, configure secondary DNS servers, use DNS load balancing, update server software regularly, and enable DNS cache locking. You can also automate flushing when the server is unreachable.
What could cause my DNS server to stop working?
Some reasons a DNS server may stop responding include incorrect configuration, out-of-date software, DDoS attacks, server overload, hardware failure, network issues, and memory exhaustion. The server logs should indicate what specific problem is occurring.
Is a DNS server not responding the same as no internet connection?
No, a DNS server not responding error is different from no internet connection. Your internet may be working fine overall, but if DNS servers are unreachable, you may be unable to resolve domain names. Websites won’t load, but other services like email may still work.

Priya Mervana
 Verified Web Security Experts
Priya Mervana is working at SSLInsights.com as a web security expert with over 10 years of experience writing about encryption, SSL certificates, and online privacy. She aims to make complex security topics easily understandable for everyday internet users.


